


Guides & practical help
Installation & Support
Find fitting instructions, demonstration videos and the latest practical updates for your component. Choose a section below to get started.
Tailpieces & fine tuners
ConCarbo tailpieces are supplied with a Kevlar tailcord. Choose the correct instrument size and compatible fine tuners; fine tuners are sold separately unless the product listing says otherwise.
Traditional Kevlar tailgut knot
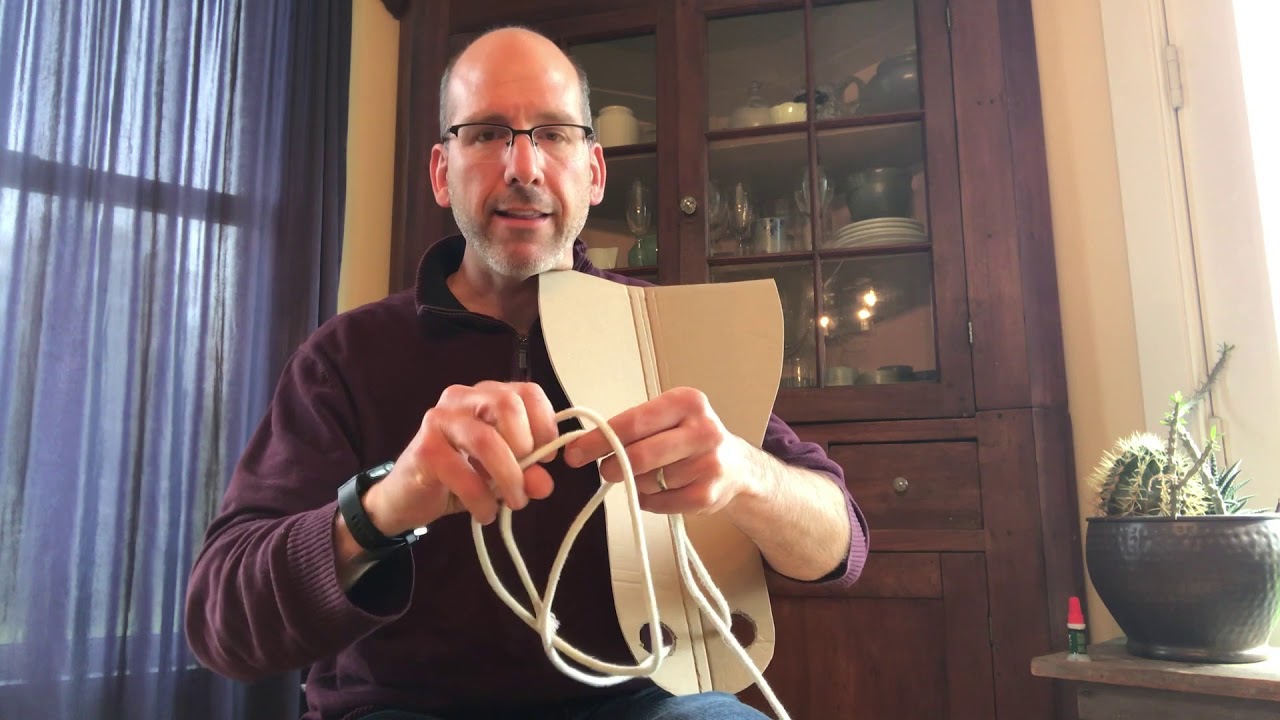
Tailgut length sets the relationship between the bridge and tailpiece. Around one sixth of the speaking string length is a traditional starting point for a conventionally shaped tailpiece; the final setting is specific to the instrument and design.
For Harp and Precision models, use the relevant product description when choosing your afterlength. A luthier can help you compare settings while keeping the instrument’s setup stable.
Quick-release Kevlar tailgut knot · 2026
The newer method uses a correctly tied square shoelace-style knot with secured ends. Read the illustrated instructions before using it. The earlier experimental plastic C is no longer needed.
ConCarbo Mini Lever & Hook Style fine tuners
Mini Lever tuners are designed for ConCarbo tailpieces. Fit the lever with the string relaxed and check that its groove sits correctly in the tailpiece slot before bringing the string back to tension.
- Thread the string through the hole in the lever.
- Pass the string through the corresponding tailpiece slot.
- Insert the string into its peg and align it with the nut and bridge.
- Seat the lever in the tailpiece slot, with its groove aligned to the slot.
- Bring the string to tension gradually, checking that the lever remains correctly seated.
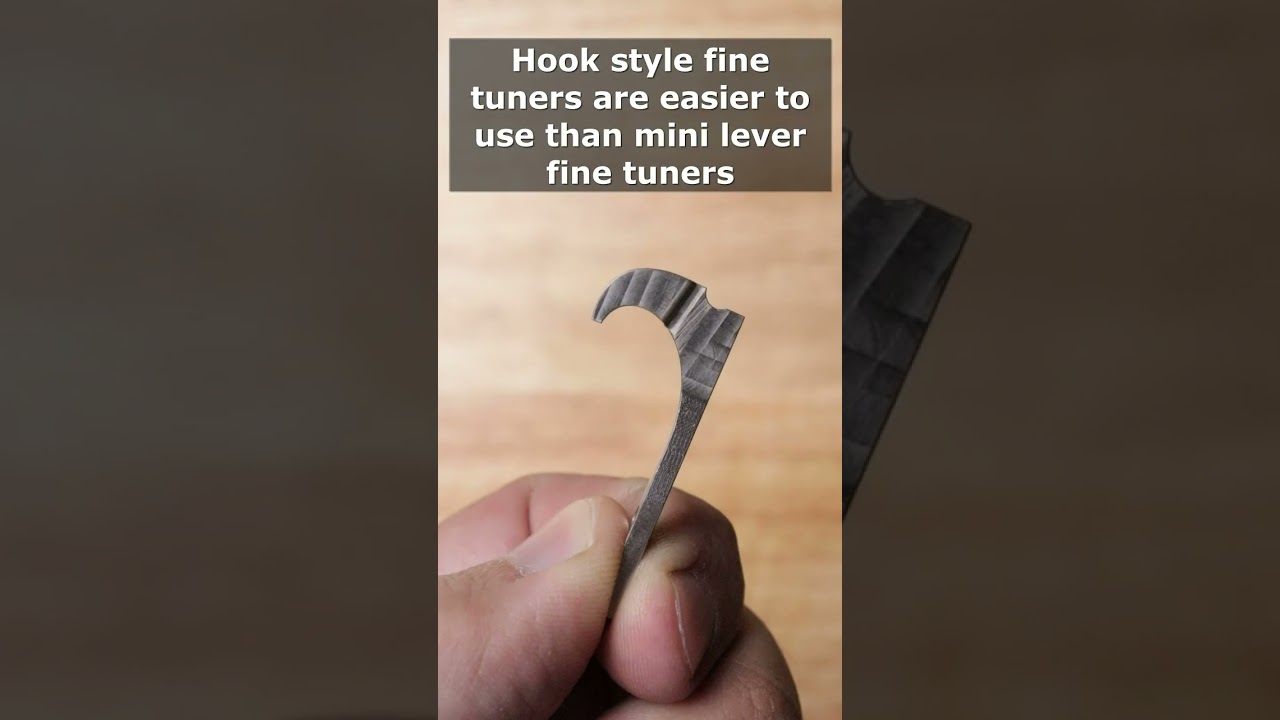
Hook Style is a workshop installation
Hook Style tuners require additional holes and reinforcement. They cannot simply replace Mini Lever tuners on a finished tailpiece. Contact ConCarbo about the correct workshop-fitted setup.
Wolf resonators
2026 adjustable cello wolf resonator
Use this guide for the 2026 adjustable cello wolf resonator developed by ConCarbo and Saddle Rider. It has a carbon fiber canister and a clip-on lid. Watch the demonstration before adjusting the magnet arrangement.
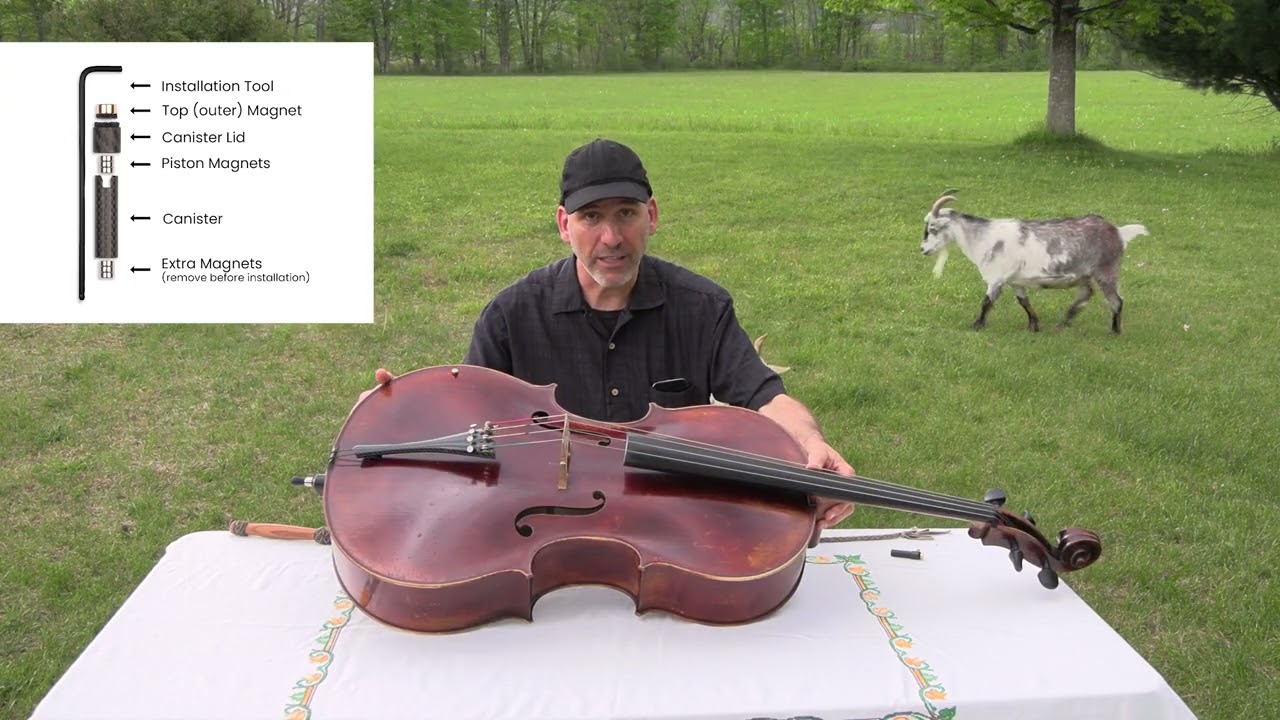
Latest adjustment notes
- Keep the installation tool against the side of the canister when removing the lid; this helps keep the piston magnets in place.
- If the piston was inserted backwards and becomes stuck, remove the lid and use an M5 Allen key or a similar metal object to attract and withdraw it.
- Before removing magnets from the lid, remove the exterior brass magnet to reduce the pull on the interior lid magnets. The combined piston magnets and three spare magnets can be used as a handle.
Earlier wolf resonators & magnet sets
The earlier 2023–24 open-source resonator, button-style clamps and magnetic resonator sets have their own instructions. Identify your model before applying an adjustment procedure.
Endpins & endpin mounts
Vector Mount installation & maintenance
These videos cover the Vector clamping mechanism and its maintenance. Confirm the model and rod diameter before following the demonstration.
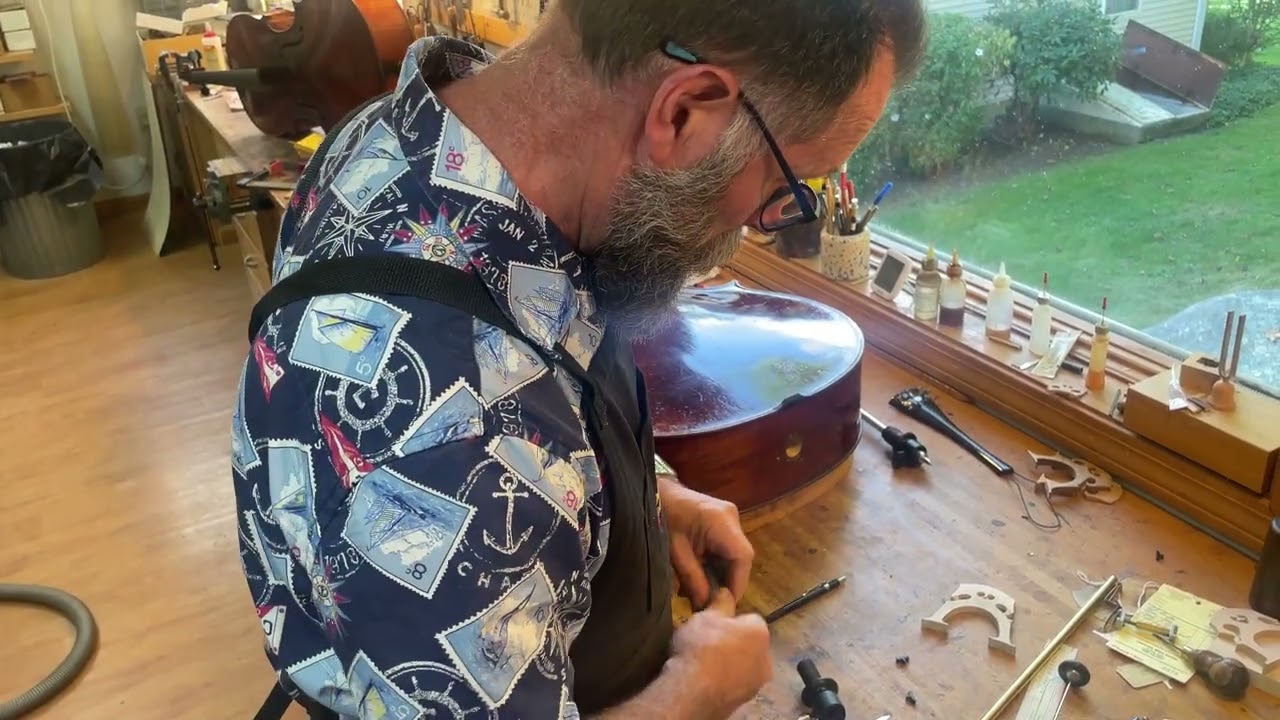
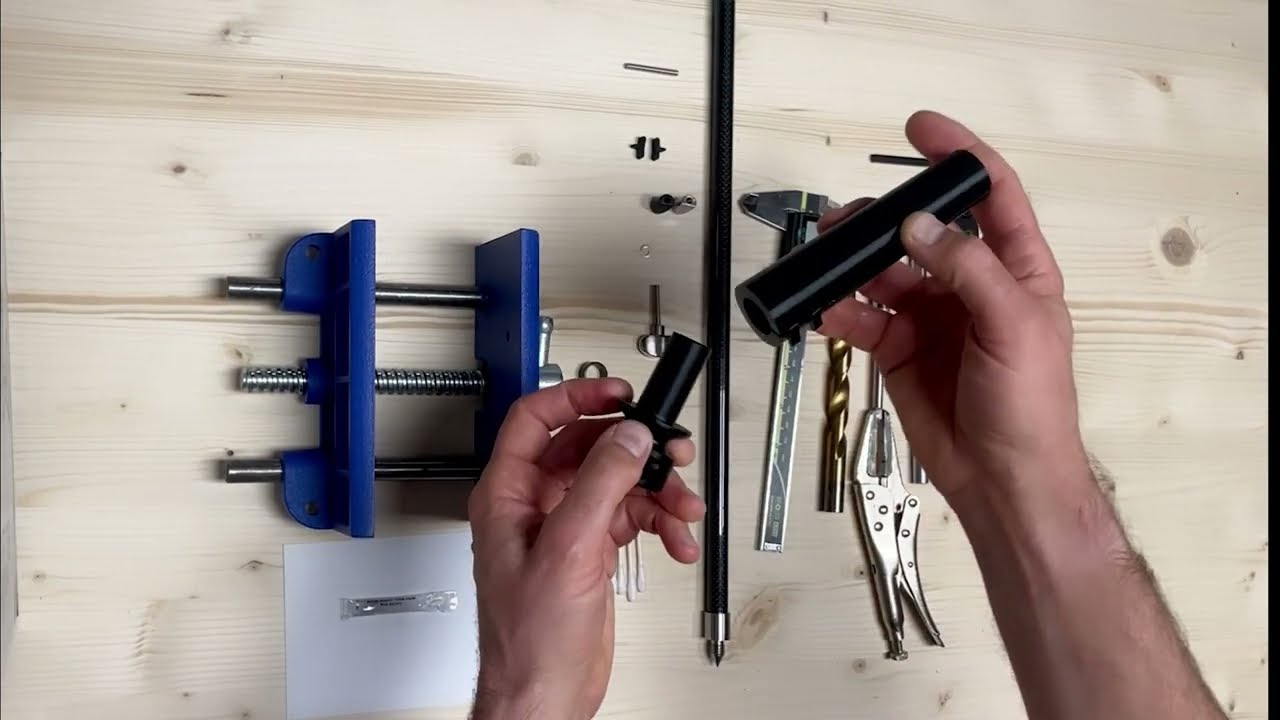
Endpin tips & DIY endpins
The DIY tutorial also demonstrates how to attach a Saddle Rider tip to a suitable endpin rod. Read these updates before following the video:
- Check the fit before gluing. A slightly oversized rod or a cutting burr can prevent the tip from seating. Remove burrs and adjust the end carefully as shown in the full guide.
- The updated recommendation is a slower-setting super glue with a 30–60 second set time, allowing time to seat the tip fully.
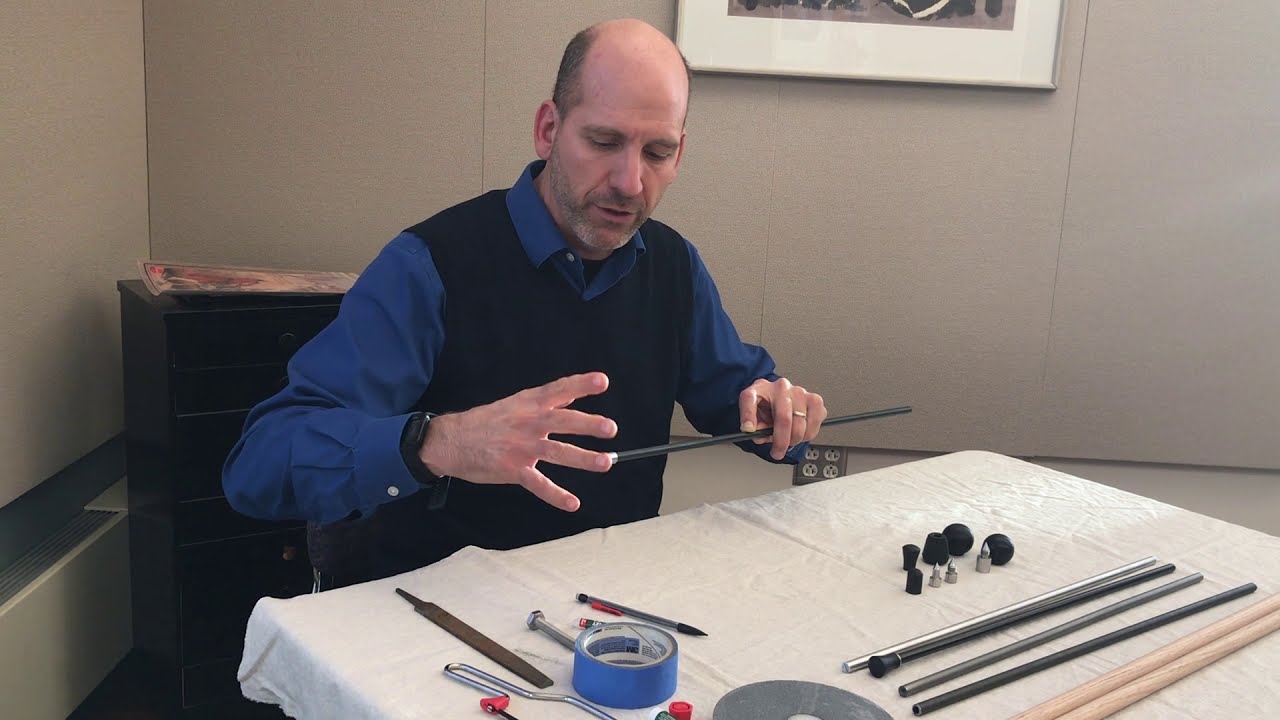
Adjustable saddle endpin mount & interior nut
This guide is for the adjustable saddle endpin mount for double bass and the corresponding smaller cello model. It is a different fitting procedure from the Vector Mount.
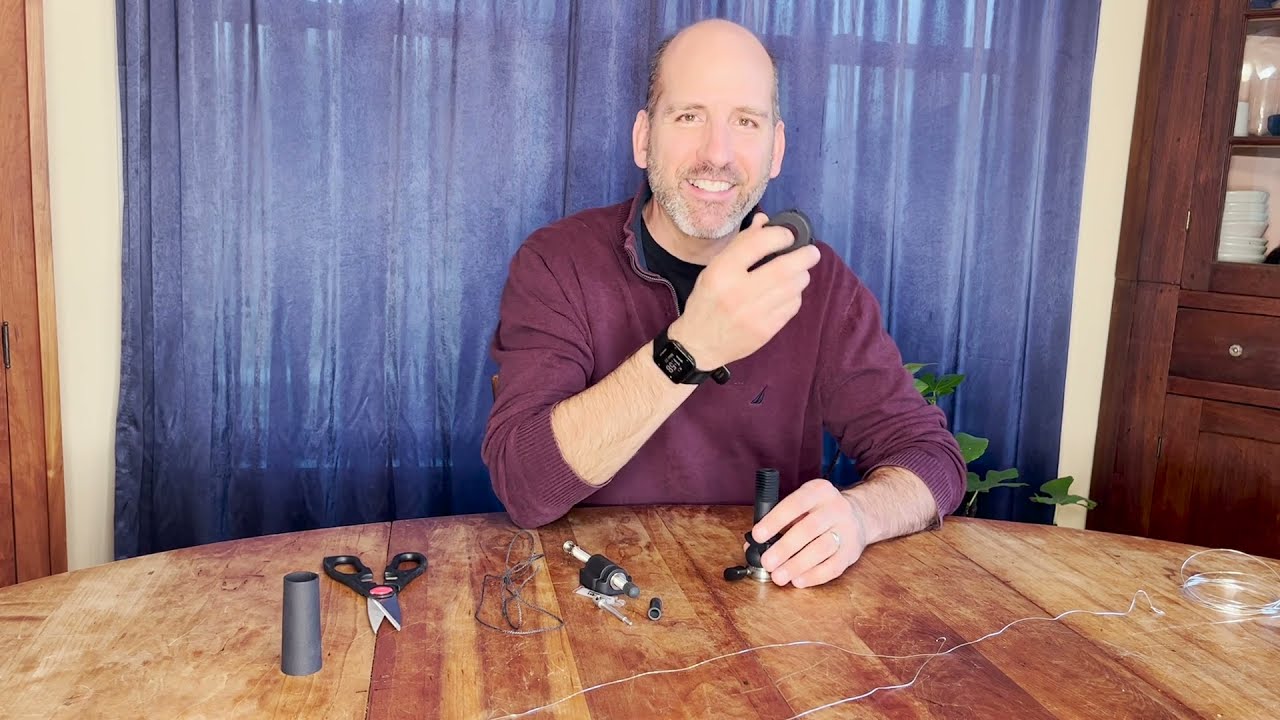
Updated interior-nut knot
- Fold a piece of heavy-gauge fishing line and feed it upward through one eyelet.
- Pass it down through the opposite eyelet.
- Feed the ends downward through the loop, as shown below.
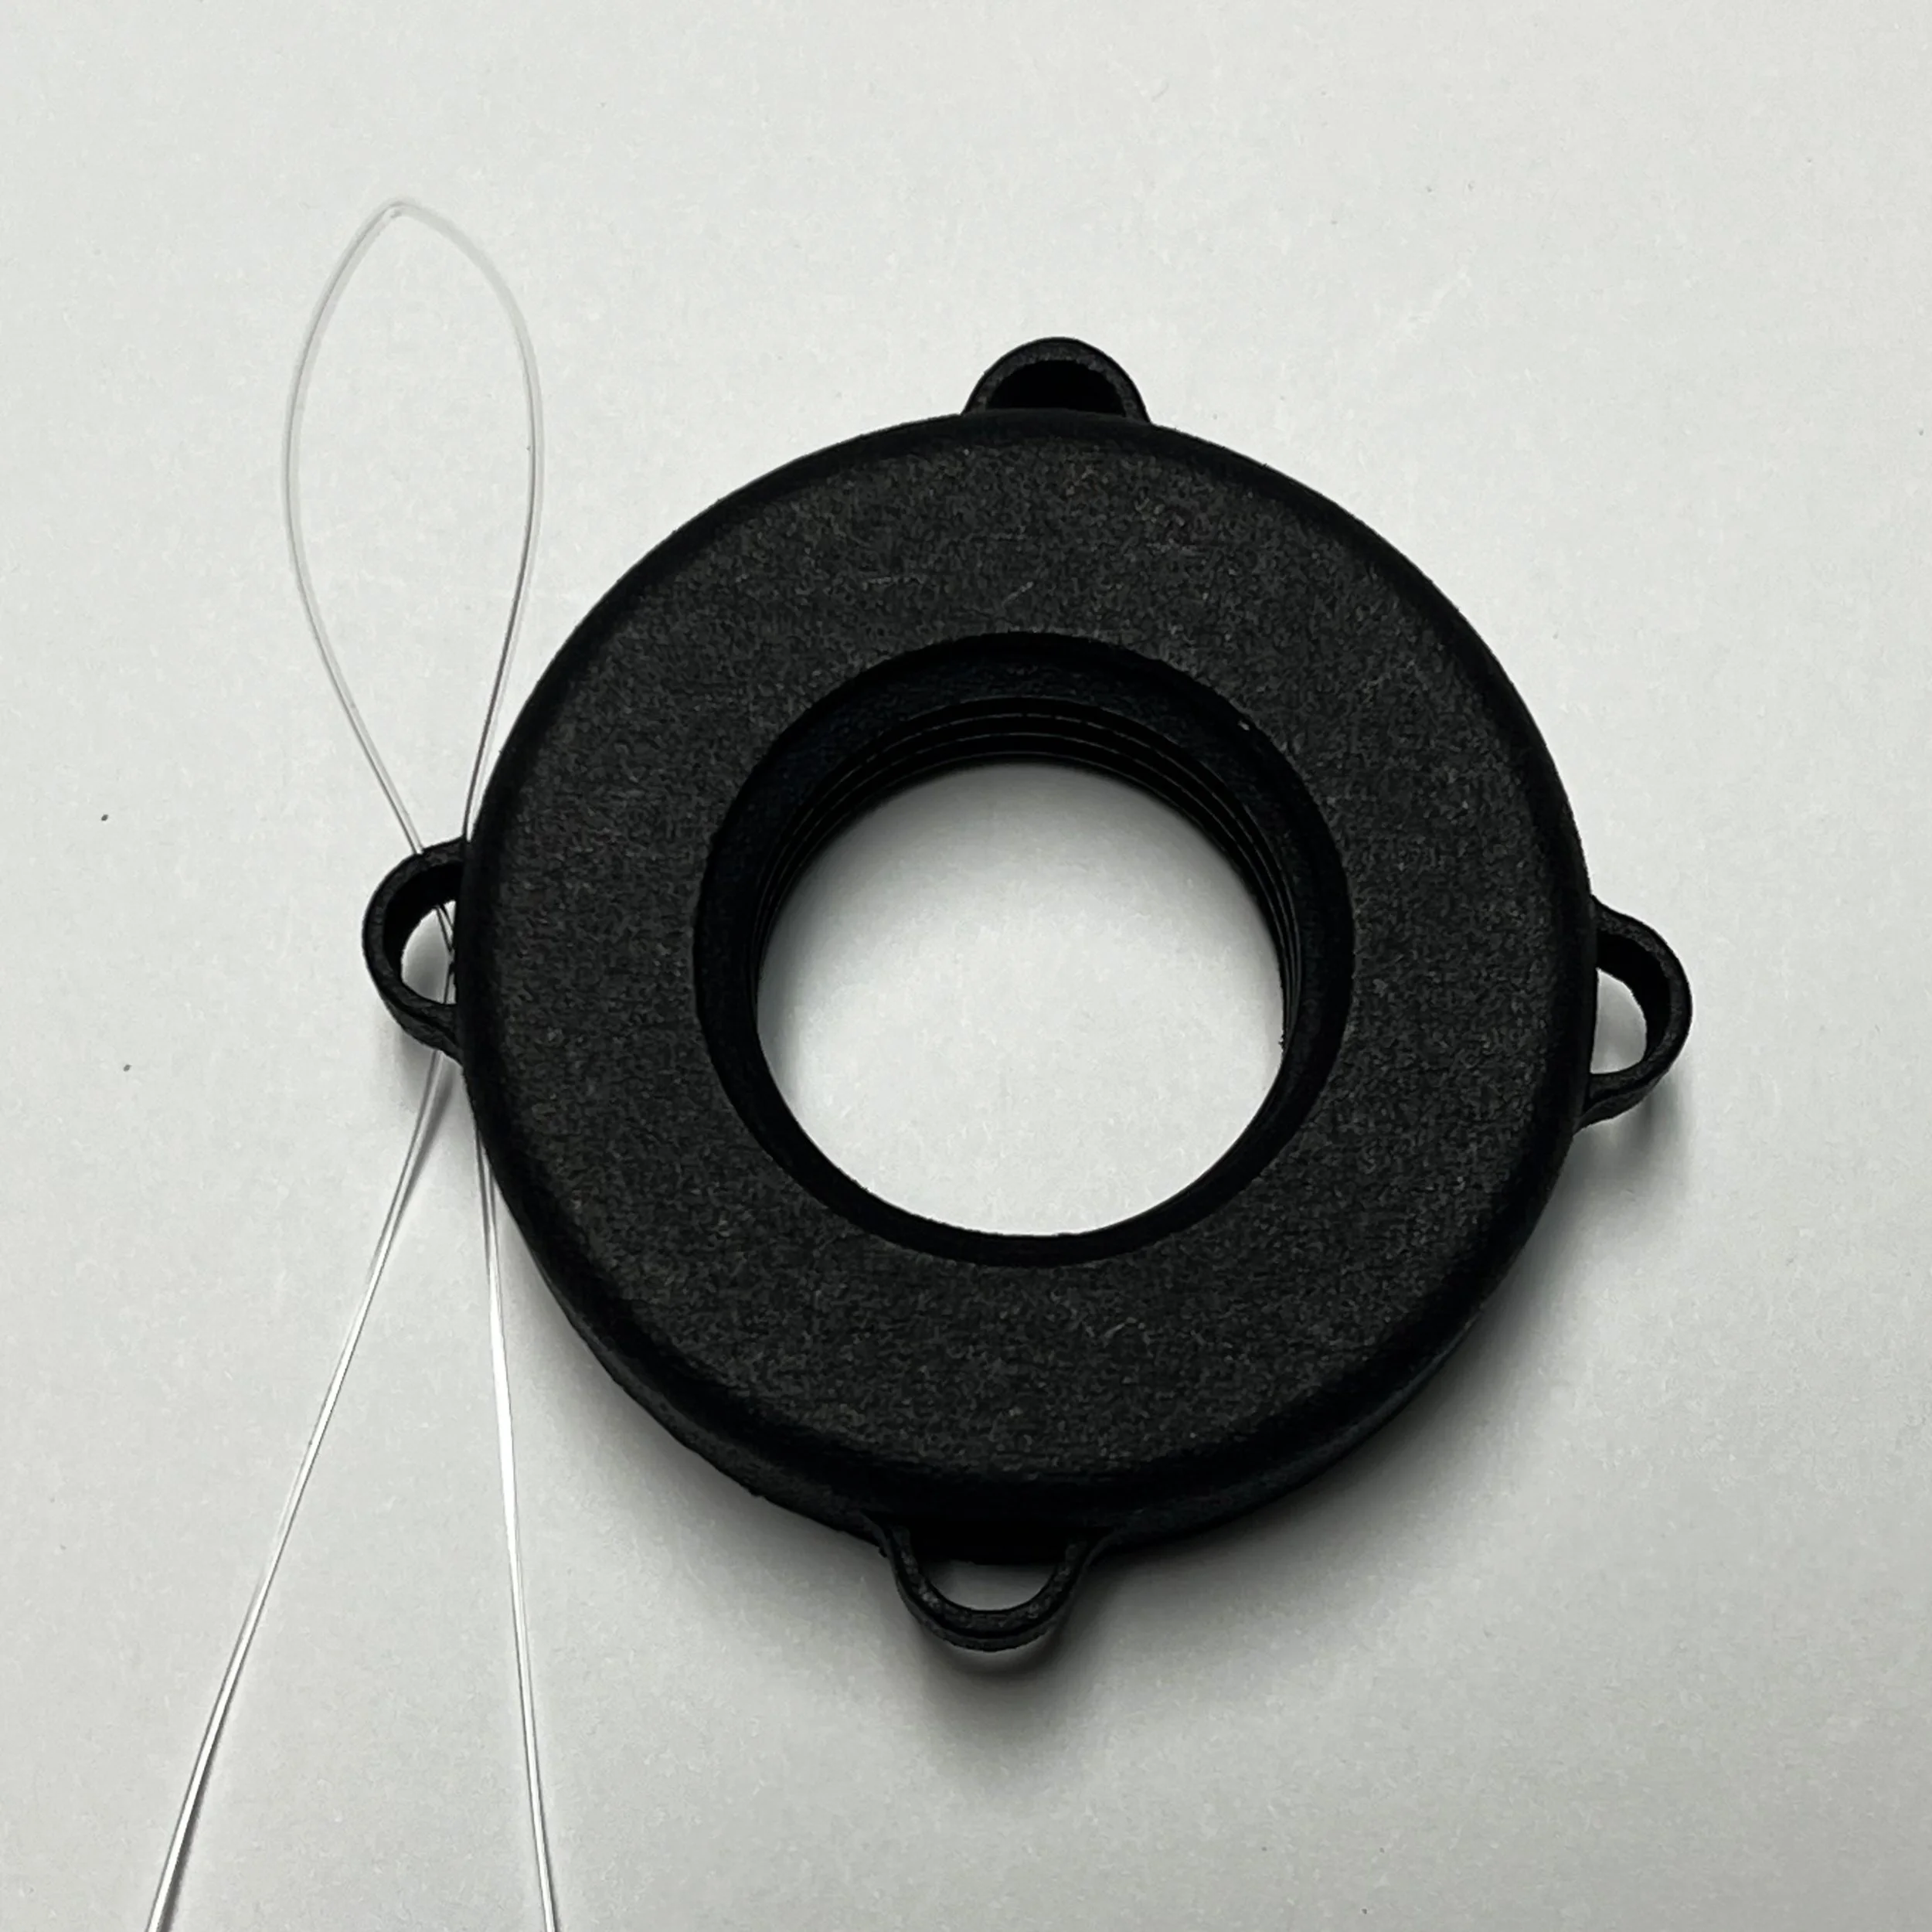
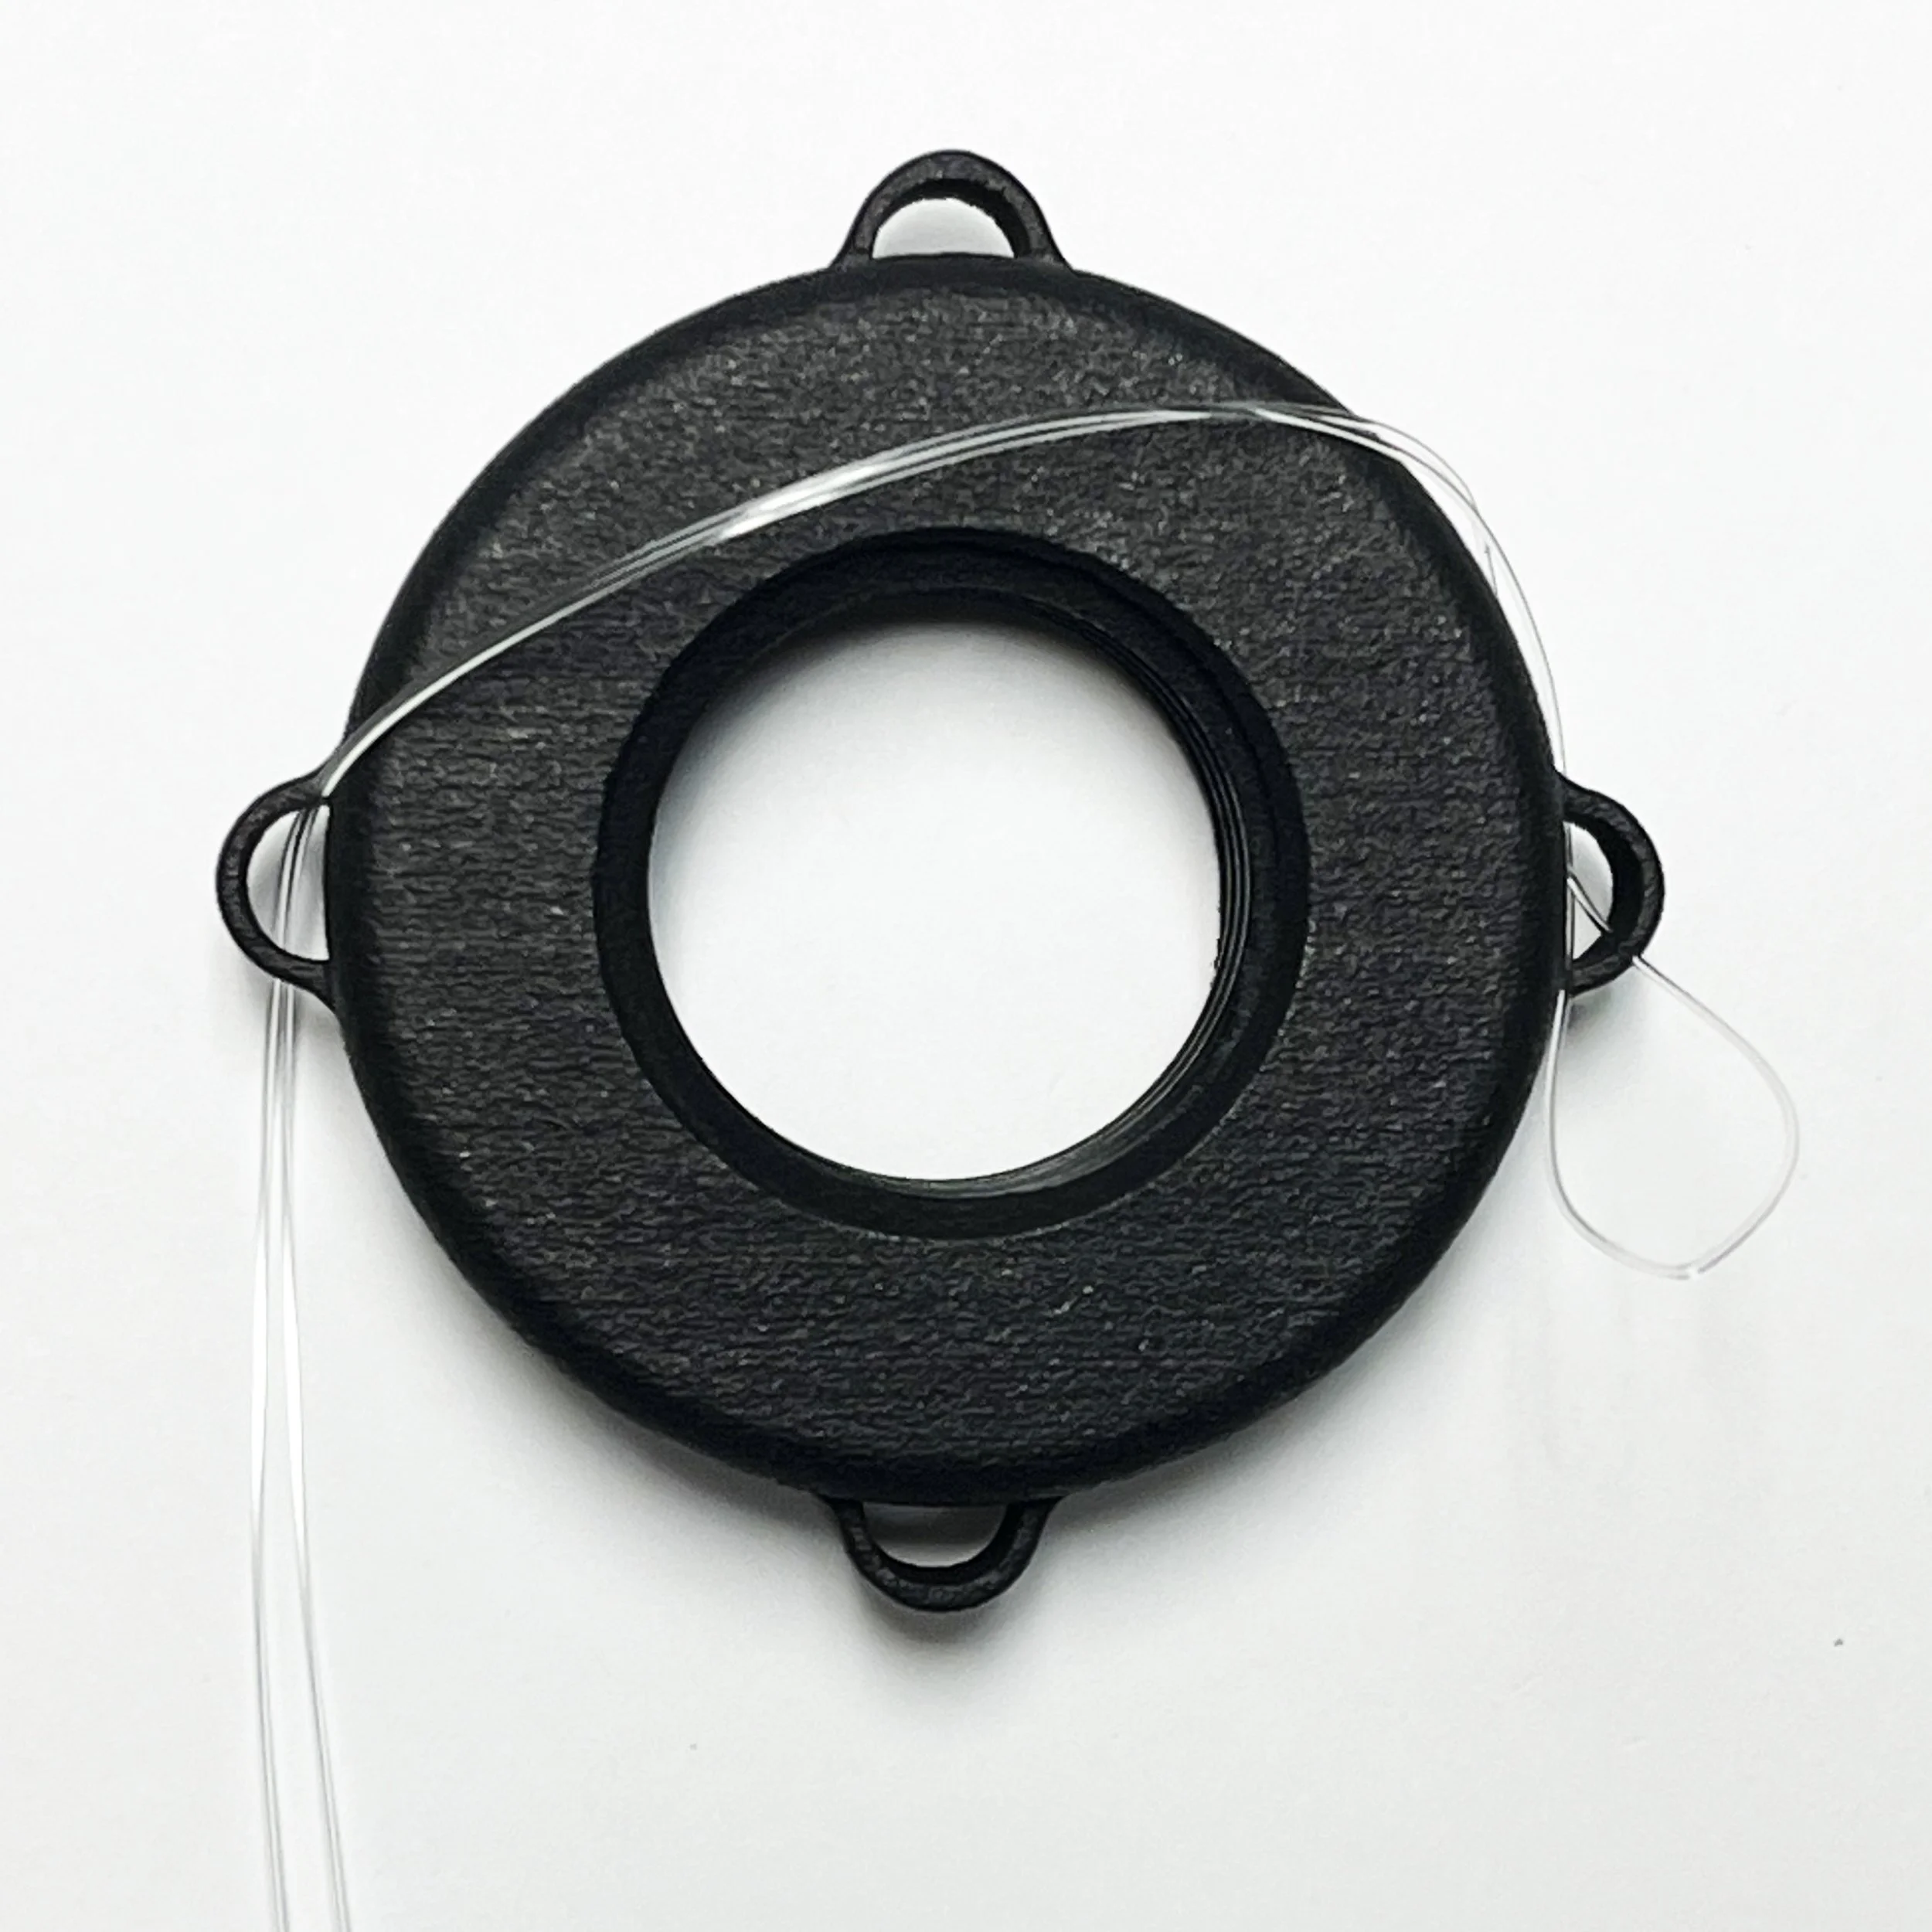
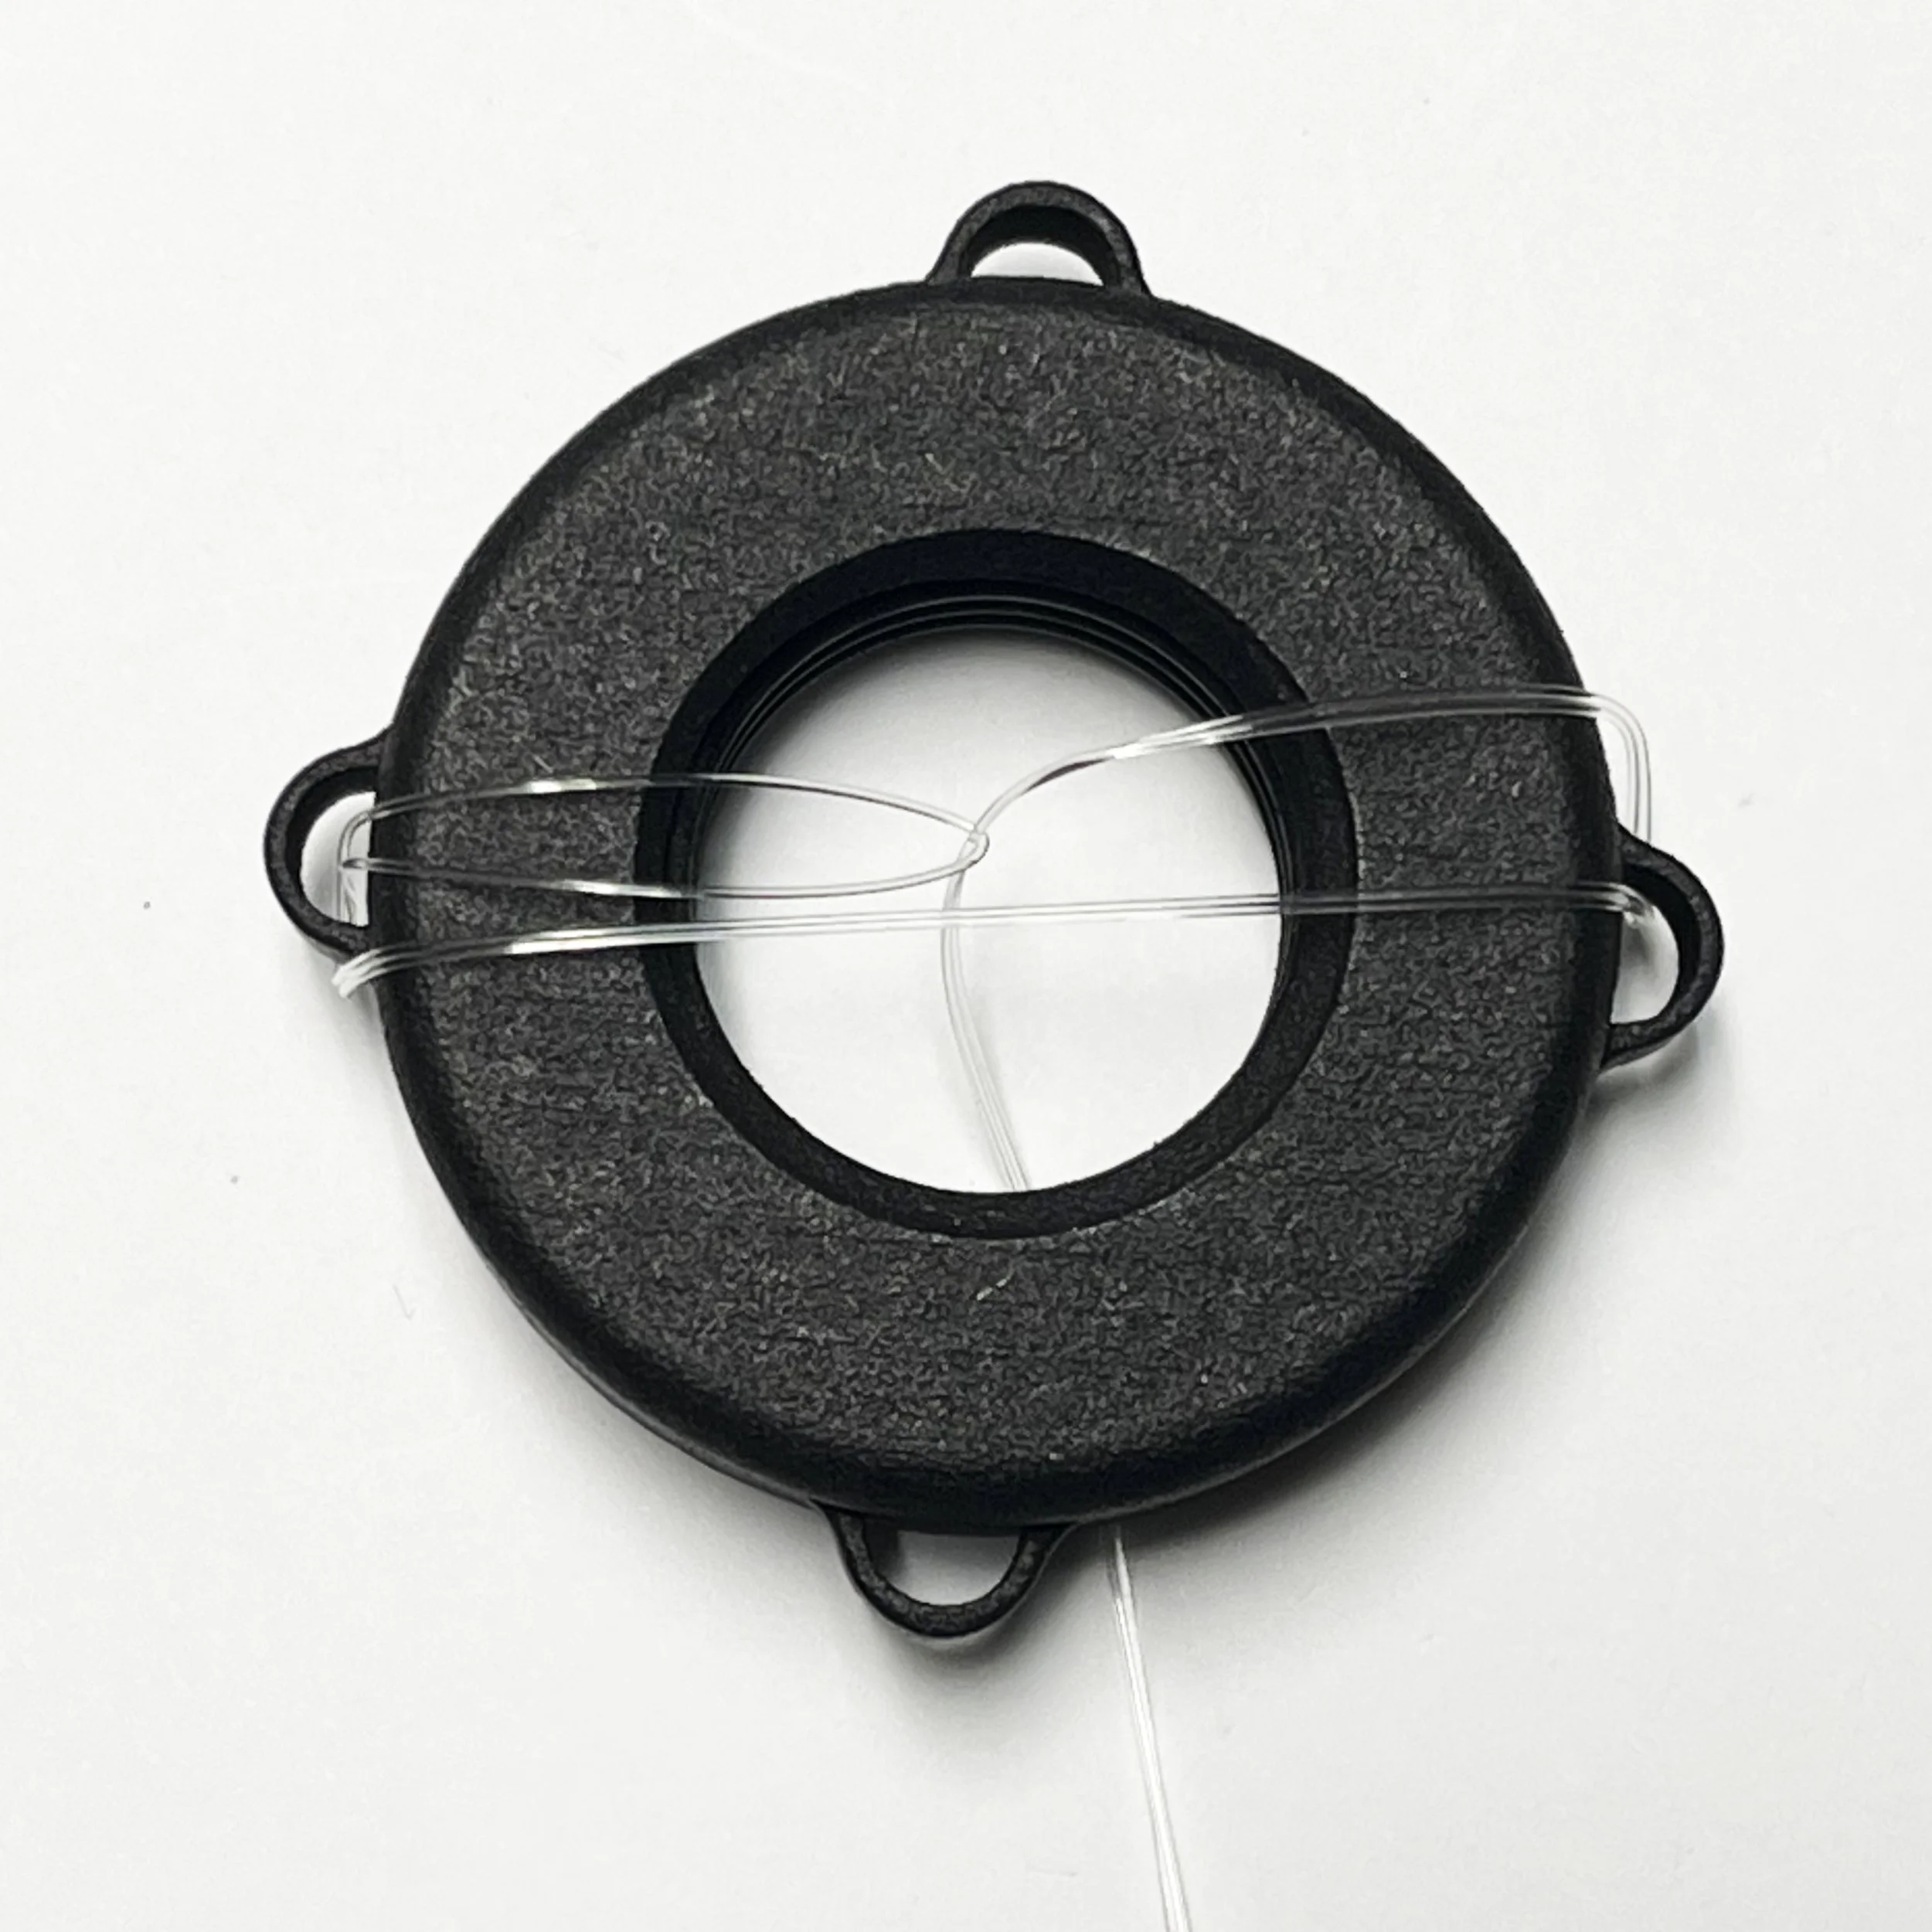
After the nut’s threads first engage the mount, remove the fishing line before tightening the nut. The full guide explains how to retrieve the loop with a small hook made from installation wire, cut one side and withdraw the filament.
Violin & viola adjustable saddles
Installation video & fitting checklist
This eight-minute demonstration covers the Low Profile Saddle Rider Tone Adjuster for violin and viola. Read the complete checklist and updates as well as watching the video.
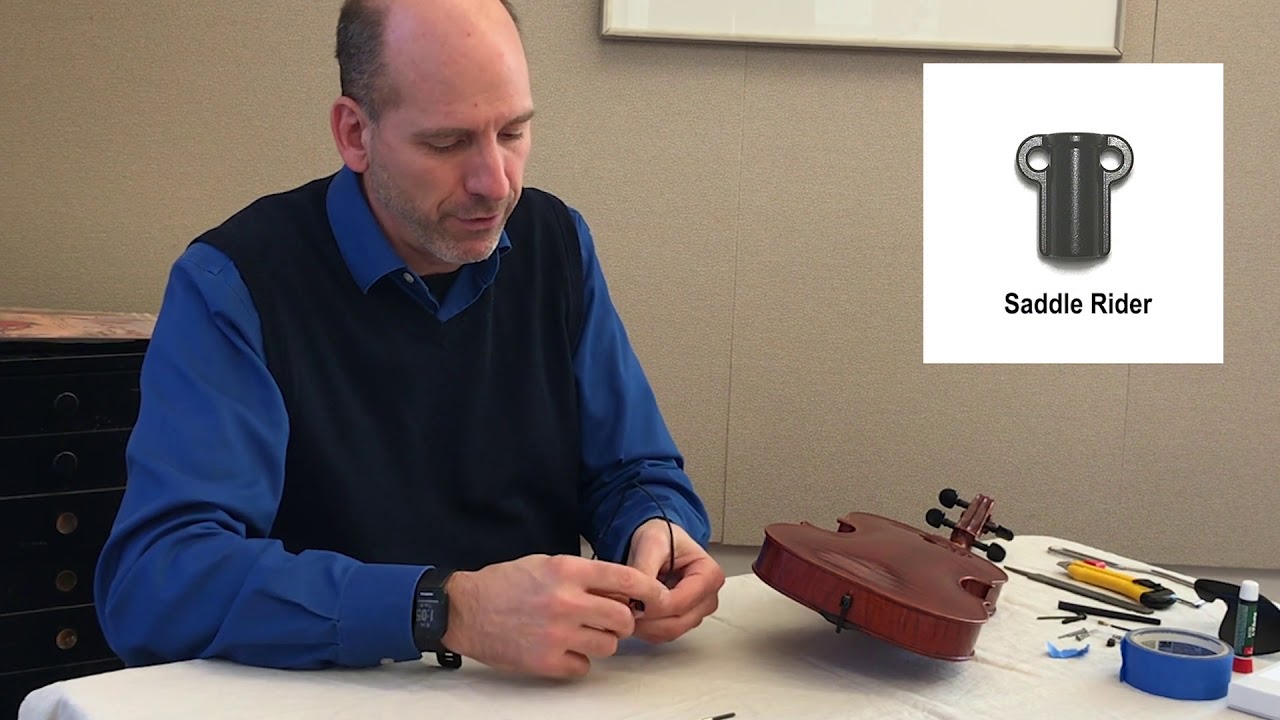
- Begin with an instrument in good basic adjustment, including the soundpost. The Saddle Rider is for fine adjustment rather than correcting an unsuitable setup.
- Size the endplug so it does not extend past the endblock into the instrument.
- The endplug slot faces the back; the Saddle Rider Mount slot faces the top, on the bridge side.
- Lubricate the Saddle Rider screw threads with the supplied silicone grease before tightening.
- Clockwise adjustment lowers the saddle and tends to sharpen tuning; loosen the strings slightly before making a large change in this direction.